Robdos lessons
Ardusub
So as to download the Ardusub code:
sudo apt-get -qq -y install git
git clone https://github.com/bluerobotics/ardusub.git
cd ardusub
git submodule update -- init -- recursive
Tools/scripts/install-prereqs- ubuntu.sh -y
. ~/.profile
cd ArduSub/
make px4-v2
Configure Pixhawk with QGroundControl
QGroundControl is a tool that is used as a control computer for drones and other robots. It is prepared to connected to the PixHawk and it allows you to modify its firmware easily and calibrate it.
- Instalation
Access the next page in order to download the program.
https://s3-us-west-2.amazonaws.com/qgroundcontrol/latest/QGroundControl.AppImage
Then, follow the next commands:
sudo chmod +x QgroundControl.AppImage
sudo usermod -a -G dialout <USER>
sudo apt-get remove modemmanager
./QgroundControl.AppImage
All the steps mentioned and how you can install QGroundControl can be found in the next link:
https://docs.qgroundcontrol.com/en/getting_started/download_and_install.html
- Load Firmware
In order to load the firmware, the first thing we must do is to open the QGroundControl and go to “Settings -> Firmware”.

After we connect the PixHawk, we will be asked about what firmware you want to upload. In our case we have to have to click “Custom” and choose our compiled workspace.
If we can see a blinking green light and nothing appears in the QGroundControl interface when we have connected the PixHawk to our computer, we have to disconnect and connect again.
- Calibration
Every time that we upload a new firmware, the best thing is to recalibrate the PixHawk so as to prevent ourselves from future problems. In order to calibrate the PixHawk we must go to “Settings -> Sensors”. In that path we should be able to see the sensors there are available and a green point if they are calibrated. If this is not the case, you can press on top and click, on the side, to the bottom “Calibration”. In the main screen we will see the calibration instructions.
Here there is a video that shows how we can calibrate the PixHawk. Even if it uses another program, the steps are the same ones:
https://www.youtube.com/watch?v=uH2iCRA9G7k (Minute 16:44)
- Set parameters
When we compile we do not say what kind of submarine we have so it is necessary to go to “Settings -> Frame” and choose the position of the thrusters you want. In Robdos Team we are using SimpleROV2.
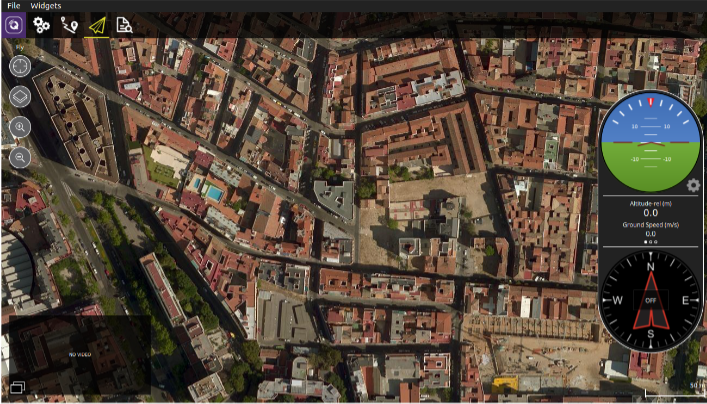
As a verification that everything is working well, we can press in the top bottom that seems like a paper plane. It should appeared a localization and a lecture of some of the sensors and it should allow us to arm and disarm the PixHawk. If everything is well calibrated, we should be able to arm without any problems.
If we have changed the parameters in the PixHawk, it is necessary to restart it so they work right (This is because some of them are loaded at the beginning of the program and any other modification does not affect them.)
